
Last updated November 22, 2026
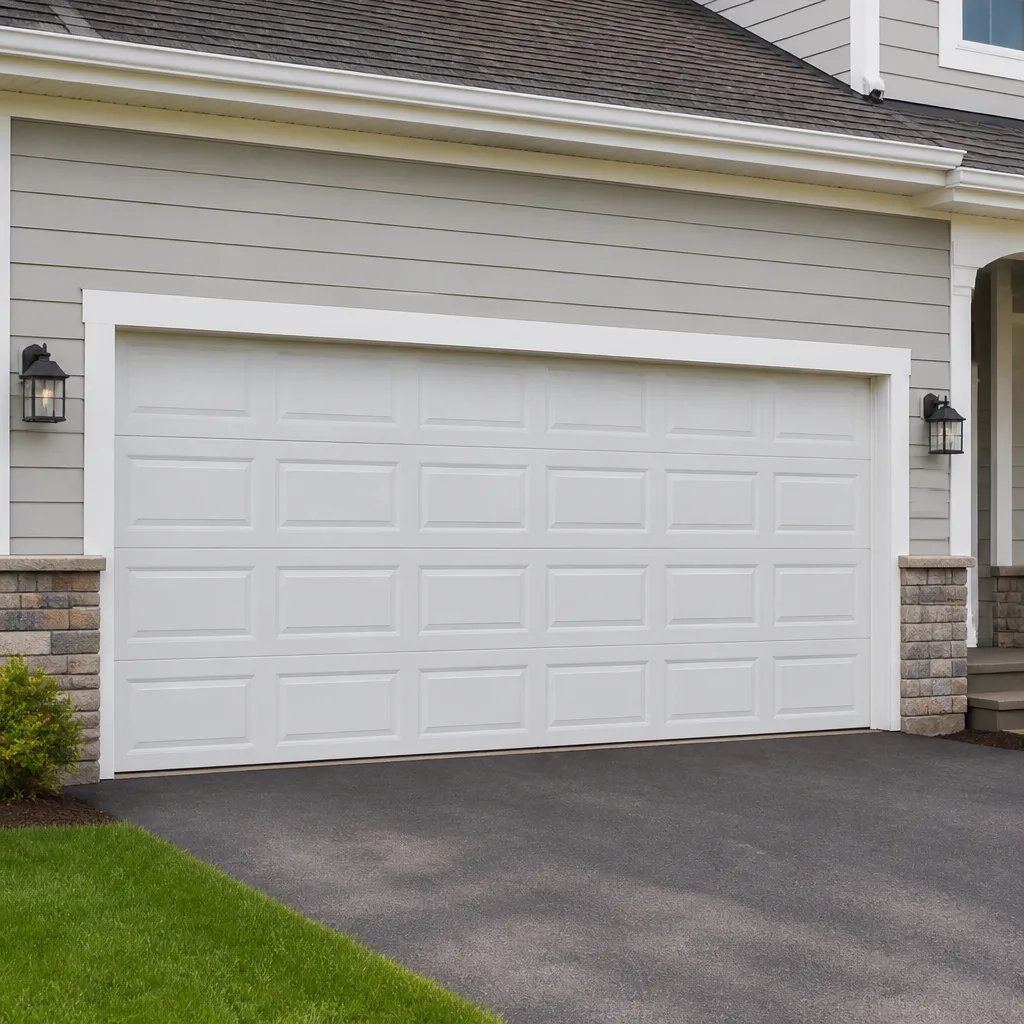 Raised-panel steel
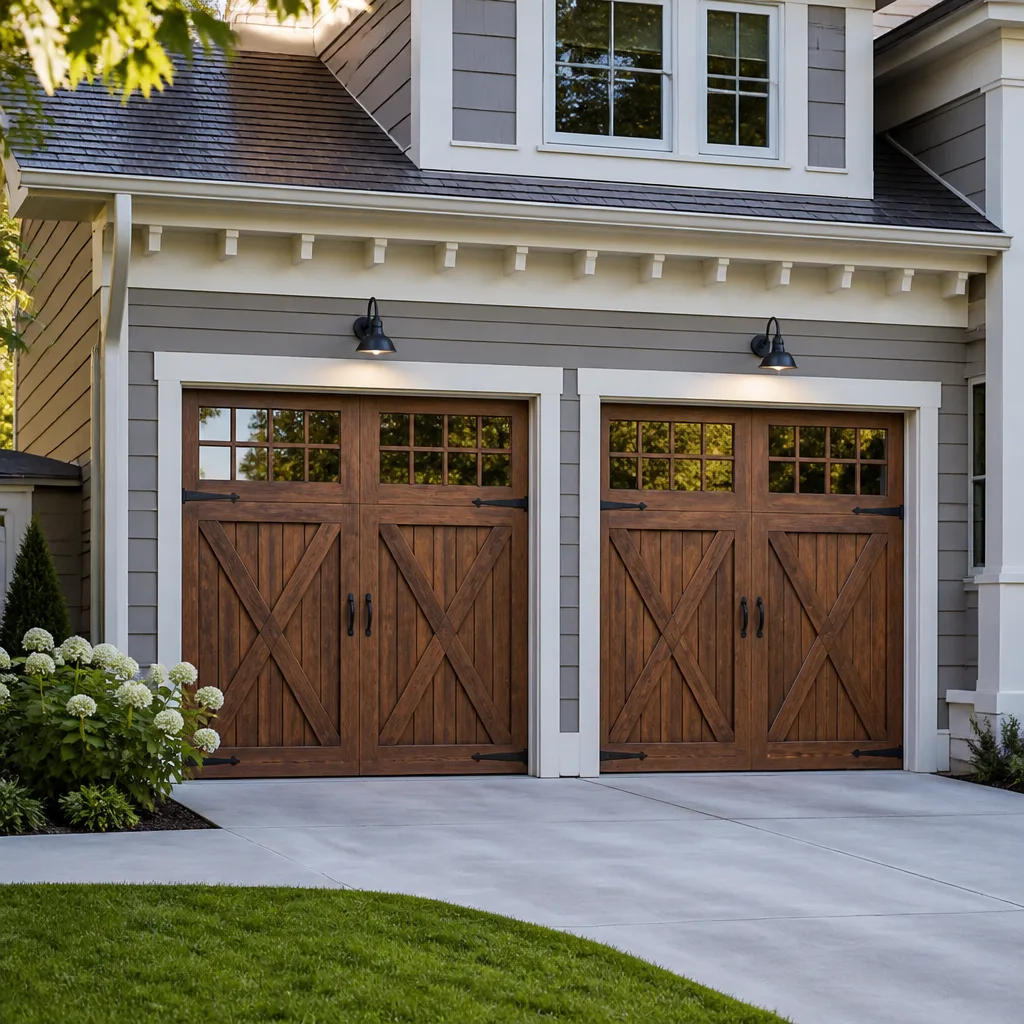 Carriage house
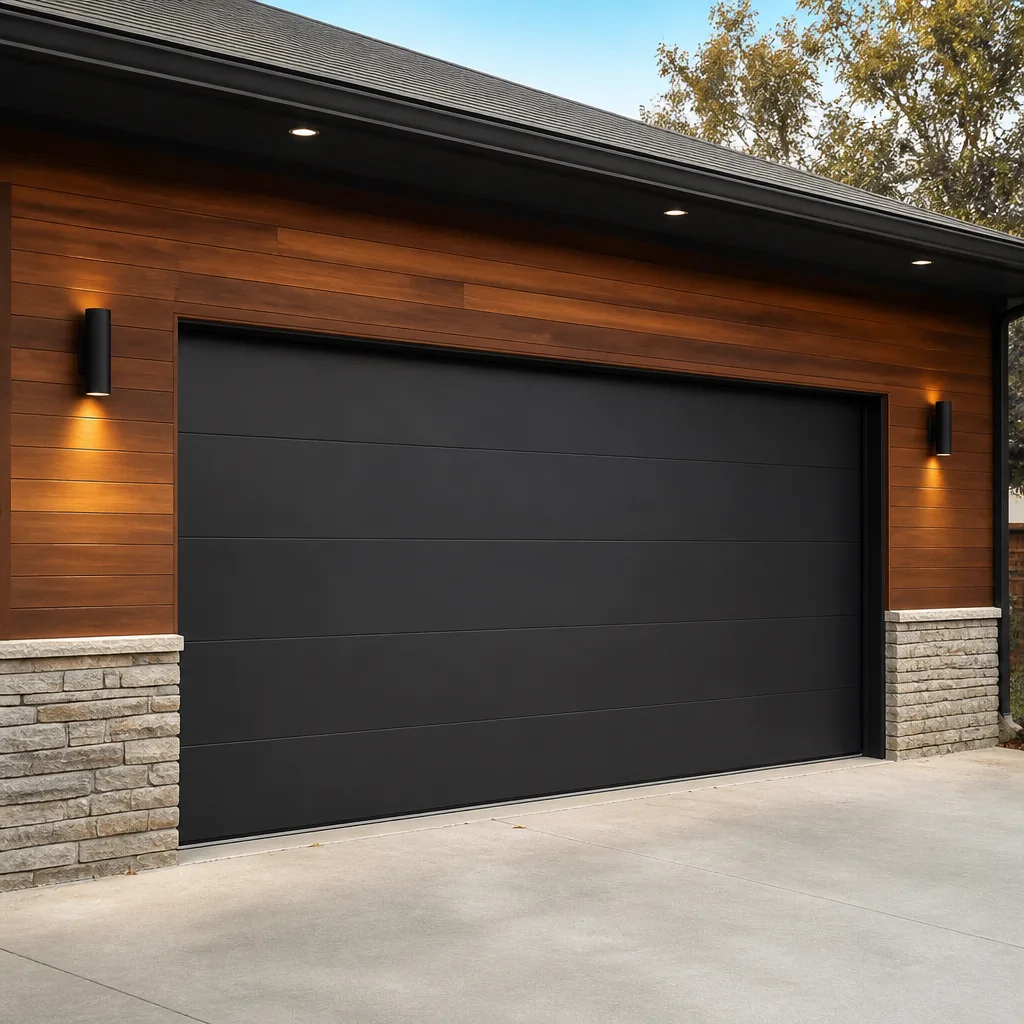 Modern flush
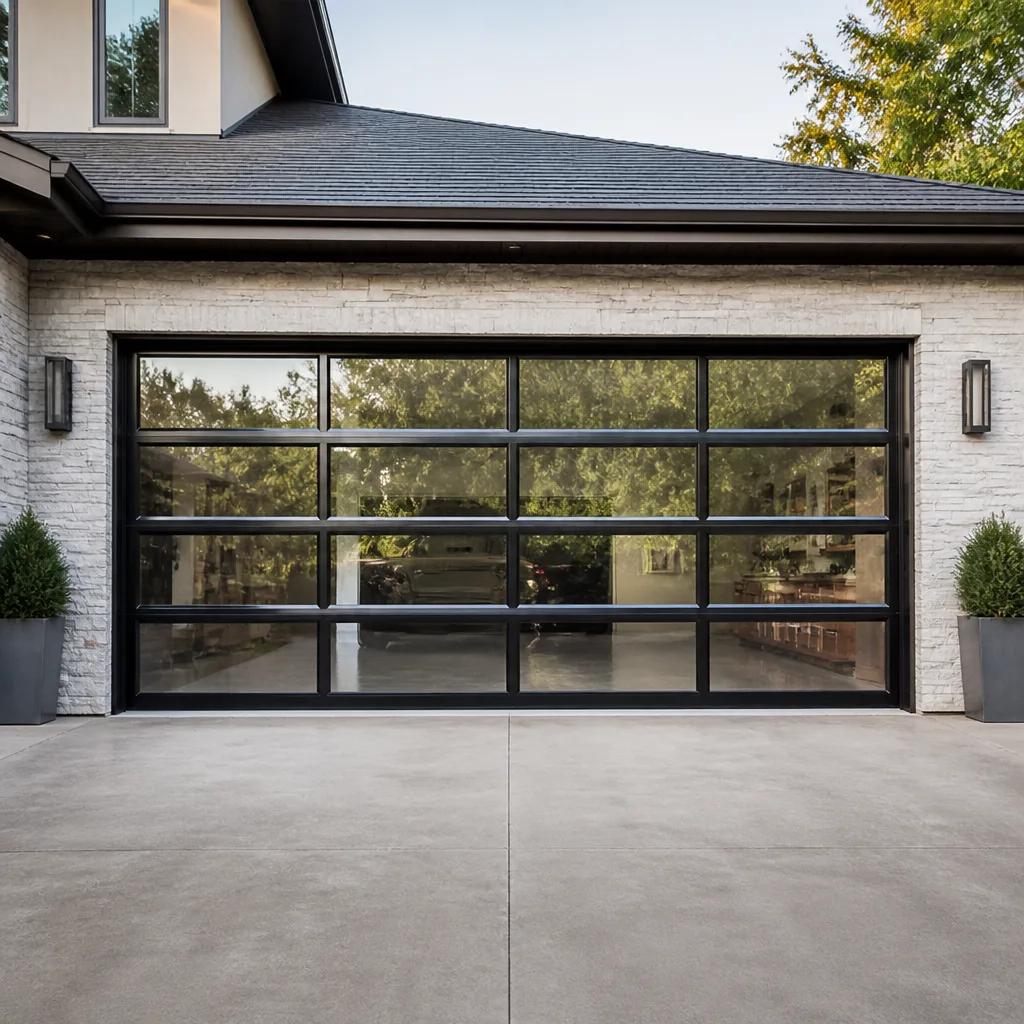 Full-view glass
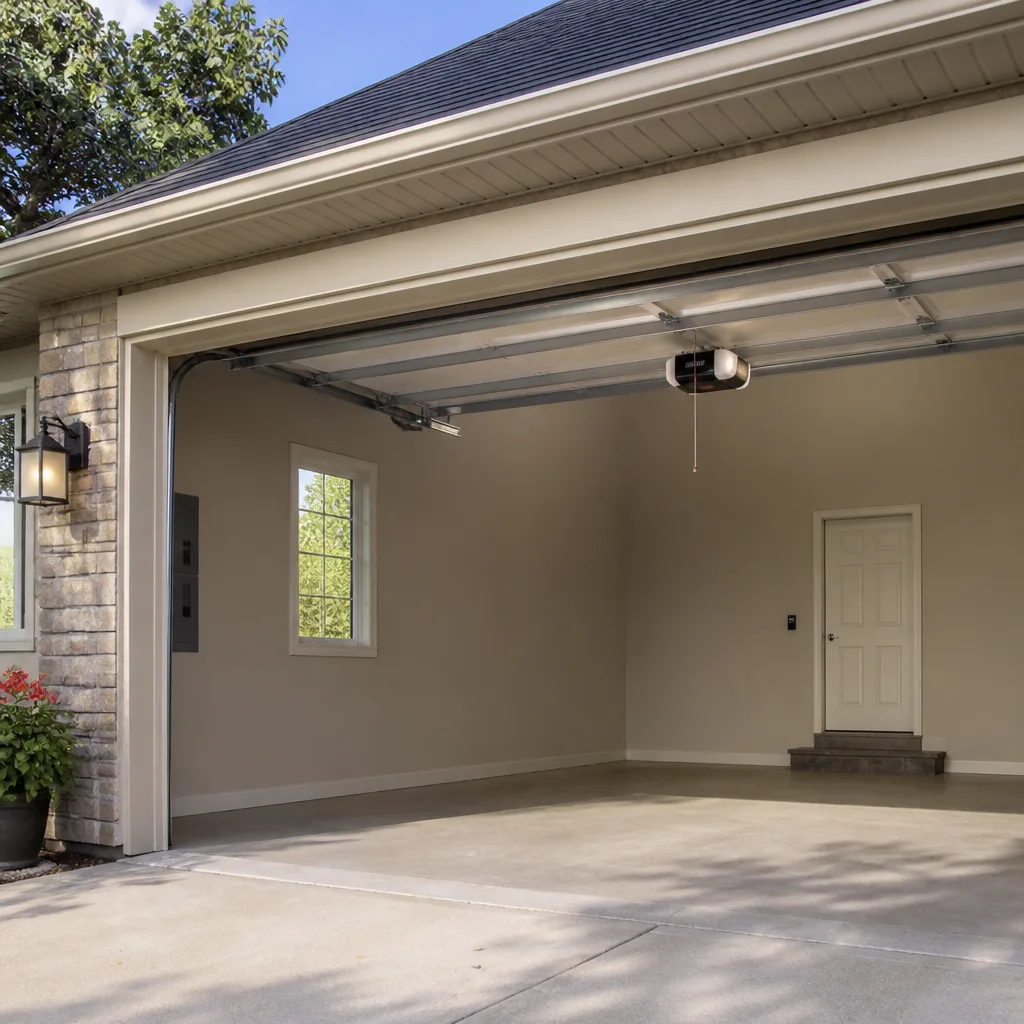 LiftMaster openers
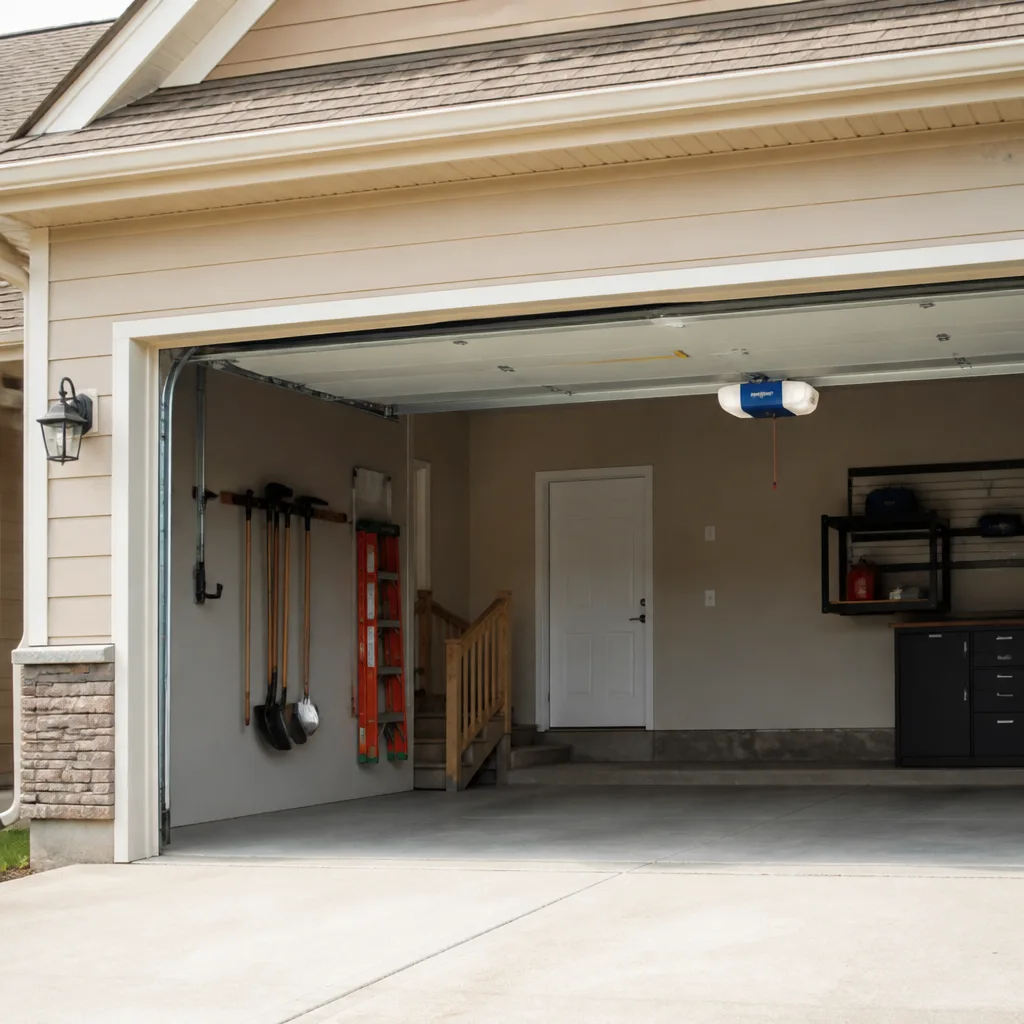 Chamberlain openers
Full 25-point door and opener safety check with every visit - springs, cables, rollers, tracks, and your LiftMaster or Chamberlain opener included
You get a price before we start. It does not change when the pro arrives.
Get your free estimateGarage Door Repair Maintenance Checklist for South Hill Homeowners
Most garage door maintenance checklists are organized by component, and that’s the problem. They move straight from “lubricate the hinges” to “test the auto-reverse” as if every task on the list carried the same risk. It doesn’t. A torsion spring under full tension stores enough energy to cause a serious injury, and it sits on these lists right between two chores you could do in slippers. This guide sorts the work differently: by who should actually do it. You’ll get three tiers – owner-safe checks, tasks to approach with caution, and jobs that belong to a technician – plus the seasonal triggers that matter in South Hill, where wet winters and spring rain wear on a door system differently than in drier places.
Quick Answer
A garage door maintenance checklist for a South Hill homeowner should separate tasks into three tiers: owner-safe work (visual inspection, lubrication, sensor cleaning), proceed-with-caution work (the balance test and the manual release drill), and technician-only work (spring adjustment, cable tension, limit switch tuning). Most of the annual list is safe for you to handle. The high-tension parts aren’t, and no checklist should pretend otherwise.
Styles & brands we work with
- Raised-panel steel
- Carriage house
- Modern flush
- Full-view glass
- LiftMaster openers
- Chamberlain openers
Table of Contents
- Tier 1: Owner-Safe Tasks You Can Do This Weekend
- The Right Lubricant for South Hill’s Wet Climate
- Tier 2: Proceed-With-Caution Tasks
- How to Run the Balance Test and Read the Result
- Tier 3: Technician-Only Work
- South Hill Seasonal Triggers: What to Check and When
- Building a Maintenance Log for Warranty and Disclosure
- Common Mistakes to Avoid
Tier 1: Owner-Safe Tasks You Can Do This Weekend
These tasks need no special tools beyond a rag, a lubricant, and a flashlight. None of them put your hands near a spring, a cable, or a moving part that could trap a finger. If you do nothing else on this checklist each year, do these.
- Walk the perimeter with a flashlight. Look at the springs above the door, the cables running down each side, and the rollers in their tracks. You’re looking for gaps in a spring coil, frayed cable strands, or a roller that’s cracked or worn flat. Don’t touch; just look and note.
- Wipe down the safety sensors. The two small lenses near the floor at each side of the opening collect dust, pollen, and spider webs. A soft cloth and a little water on the lens is enough. If the door won’t close and the opener light blinks, this is the first thing to check.
- Lubricate the moving parts you’re allowed to touch. Hinges, rollers (the metal stem, not the wheel), and the pivot points at each hinge get a light coat. The torsion spring itself should not be lubricated by a homeowner – leave it to a technician.
- Clear the tracks of debris. A dry rag or a soft brush along the inside of each vertical and horizontal track. Don’t use grease in the tracks; it attracts grit.
- Look at the weatherstripping along the bottom. Run a hand along the bottom seal and the side jambs. Cracks, hardness, or a gap you can see daylight through means it’s time to replace.
- Test the opener’s safety reverse with a small object. Place a roll of paper towels or a 2×4 flat on the floor in the door’s path. The door should reverse on contact. This is the one test every manufacturer builds into the opener for your protection, and it’s safe to run.
That’s the whole owner-safe tier. It takes about 30 minutes and costs you nothing beyond a can of lubricant. Everything beyond this point either needs a second person, a specific tool, or training – and we’ll say which.
The Right Lubricant for South Hill’s Wet Climate
South Hill sits in a climate that swings between dry summer heat and months of cool, damp weather. That cycle does a specific kind of damage to a garage door’s moving parts, and the lubricant you choose either works with it or against it.
Here’s the practical rule: use a lithium-based or a silicone-based garage door lubricant, not a general-purpose oil, and never a spray that stays wet. In wet climates, an oil that never sets attracts grit, dust, and pollen. That grit works its way into the hinge barrels and roller stems and accelerates wear. You get a door that grinds a little more each month.
A few specifics that matter in South Hill:
- Lithium grease is the workhorse. It clings, it doesn’t wash off in humidity, and it’s rated for the temperature swings we get. Apply it thin; a hinge doesn’t need a glob.
- Silicone spray is fine for the sensor lenses and for the bottom weather seal – it keeps the rubber supple and stops it from sticking to the floor.
- White lithium in a tube or a can is what we use on hinges and roller stems. Spray lithium works too, but stay back and give it a moment to set before you cycle the door.
- WD-40 as a general spray is not a lubricant for this job. It’s a solvent and a light water displacer, and it will dry out the parts it’s sprayed on.
- Graphite is sometimes recommended for locks but is a poor choice for a garage door’s moving parts in a damp climate – it doesn’t stay put.
One more thing about the wet season: after a stretch of rain, work the door by hand once with the opener disconnected to feel for a change in resistance. A door that suddenly feels heavier or sticky in the wet months is telling you something about the rollers or the tracks, and it’s worth a look before the problem grows.
Tier 2: Proceed-With-Caution Tasks
These tasks are safe to do yourself if you follow the drill carefully, and if you stop when something feels off. Both involve the door’s weight and its connection to the opener, so treat them with attention. No tools, but a clear head.
The manual release drill. Every door has a red pull handle hanging from the opener trolley. In a power outage, you use it to disconnect the door from the opener so you can raise it by hand. Most homeowners have never tried it, and find out in a blackout that it doesn’t work as expected.
- Close the door fully.
- Make sure no one is in the door’s path.
- Pull the red handle down and back until it releases. You’ll hear or feel a click.
- Lift the door by hand from the bottom. It should move with moderate effort and stay where you leave it.
- To re-engage, close the door fully and pull the handle straight back up until it clicks, or cycle the opener once to reconnect the trolley.
If the door is hard to lift, or comes crashing down, stop the drill and call a technician. Those are two signs of a spring or balance problem, and neither is safe to ignore.
The balance test. This one deserves its own section, because the result – pass or fail – tells you exactly what to do next and how quickly.
How to Run the Balance Test and Read the Result
The balance test checks whether your springs are doing their job of holding the door’s weight. A door that isn’t balanced puts extra strain on the opener, wears the springs faster, and can be dangerous if the opener fails.
How to run it:
- Close the door and pull the red manual release handle to disconnect the opener.
- Lift the door by hand about halfway up (roughly waist to chest height).
- Let go and step back.
- Watch what happens.
How to read the result:
- Pass: The door stays where you left it, or drifts less than a few inches. Your springs are doing their job.
- Fail (drops): The door slides down on its own. That means the springs have lost tension or failed. Stop using the door and call for a technician.
- Fail (rises): The door drifts upward on its own. The springs are over-tensioned, which is also a problem and needs adjustment.
- Fail (feels heavy): The door is very hard to lift. Same conclusion – spring tension is off, and the door is a strain on you and the opener.
A failed balance test is not a “wait and see” situation. It’s a call-today situation, because a door that won’t hold itself up can come down on someone or on a vehicle. If you get a fail, re-engage the opener so the door is at least under its control, and book service. Our technicians handle spring tension as a dedicated service because it’s the single most common job people try to do themselves and get hurt doing – you can read more on our garage door spring repair page.
Tier 3: Technician-Only Work
Here’s where the line sits. Everything in this section involves components under high tension, live electrical connections, or precise adjustment that a few degrees one way or the other affects how the whole system performs. None of it is a homeowner job, and no honest checklist should tell you it is.
- Spring adjustment or replacement. Torsion springs – the horizontal ones above the door – and extension springs – the ones that run along each side – both store enormous energy. Loosening the set screws on a torsion spring without the right winding bars is how people lose fingers. Even adjusting tension on an extension spring requires care. This is the most dangerous part of the whole system.
- Cable replacement or tensioning. The cables run from the bottom brackets up to the springs. They’re under the same tension as the springs they pair with, and a cable that snaps while someone’s hands are near it can cause serious injury.
- Limit switch and force setting adjustment. These are the opener’s internal settings that tell it how far to travel and how much resistance to expect. They’re calibrated with the door’s weight and the opener’s brand in mind. We’ve seen plenty of openers with the force setting turned all the way up because the door was binding – which is a symptom, not a fix. On a LiftMaster or Chamberlain unit, for example, the force and travel settings interact in ways that show up as intermittent reversing that looks like a sensor fault.
- Track alignment. A track that’s a few millimeters out of plumb will bind the rollers, and the fix involves adjusting the brackets that hold the track to the framing. This is straightforward for a technician and a lot of trouble for a homeowner working with basic tools.
- Opener motor repair or replacement. If the motor is failing or the control board has died, it’s a technician job either way. The repair-versus-replace decision is one we make after listening to the unit and checking its brand and age – visit our garage door opener repair page if you’re there.
The general rule: if the task involves a spring, a cable, or an electrical connection, leave it. If it involves a visual check or a wipe-down, you’re fine.
South Hill Seasonal Triggers: What to Check and When
A calendar is as useful as a checklist, because different problems show up in different seasons here. South Hill’s weather rotates through dry summers, wet fall and winter rain, and cold snaps that come fast. Each season puts a different kind of stress on a door, and knowing what to look at when saves you a repair call later.
Fall: Weatherstripping
Before the rain sets in for the season, check the bottom seal and the side and top jambs. Weatherstripping that’s gone hard, cracked, or pulled away lets water and cold air into the garage, and it also lets pests in. A worn bottom seal is one of the cheapest parts to replace and one of the most common causes of a cold, damp garage in the wet months.
Late January: Rollers and Cold Cracking
Cold snaps do a number on older nylon rollers. Look for cracks in the roller wheels, flat spots from sitting in one position, and a grinding sound when the door moves. Nylon rollers that have gone brittle in cold weather can shatter, which leaves the door riding metal-on-metal in the track. If your door sounds different in January than it did in September, the rollers are the first place to look.
After the Spring Rain Season: Rust on Hardware
Months of rain and humidity show up as rust on the hinges, roller stems, and the bolts that hold the track brackets. Surface rust on a hinge isn’t an emergency, but it signals that the part has lost its lubricant coating and is starting to wear. A light wire brush and a fresh coat of lubricant will buy time on hinges. Rust that’s eaten into a hinge pin or a roller stem means replacement before it fails.
Summer: Heat and Spring Strain
In the hot stretch, springs are at their most relaxed and the door is at its lightest. This is the easiest time of year to run the balance test and get a clean read. It’s also when people notice a door that’s become heavier than usual – the symptom of springs that have slowly lost tension over the winter.
Any Time: The Annual Full Walk-Through
Once a year, do the whole Tier 1 list in one pass, run the balance test, and log the date. Do it at the same time each year – many homeowners pick a month that lines up with a change in the season, or a favorite holiday, so they don’t forget. That record becomes the backbone of the maintenance log in the next section.
Building a Maintenance Log for Warranty and Disclosure
A maintenance log isn’t bureaucracy. It’s the difference between “I think we had the door serviced at some point” and a documented record when you sell the house, file a warranty claim, or have a technician look at a recurring problem. It takes five minutes a year to maintain, and it tells a technician what’s been checked and when.
A simple format that works:
| Date | Task | Result / Notes | Technician or Owner |
|---|---|---|---|
| Example: 2026-04-12 | Annual Tier 1 walk-through | All checks pass, lubricated hinges and rollers | Owner |
| Example: 2026-04-12 | Balance test | Door holds at mid-height, drift under 2 inches | Owner |
| Example: 2026-11-03 | Weatherstripping inspection | Bottom seal cracking, replaced | Technician |
Keep the log somewhere you’ll actually find it – a note on your phone, a page in a home maintenance folder, or a text file. Log every service call with the technician’s name, the work done, and any parts replaced. If a spring or a hinge was replaced under a warranty or a manufacturer’s program, note the part brand and any paperwork you were given. That record moves with the house. It’s also the kind of thing a home inspector or a buyer’s agent will ask about if the door has ever been serviced.
If you’re not the type to maintain a log, do the next best thing: keep the service receipts in a folder. Even that beats no record at all.
What the Different Brands Mean for Your Checklist
The checklist tasks are the same for any residential door, but the details shift with the brand. A door and opener are a system, and knowing which system you have tells you what’s normal and what’s a symptom.
We work on 8 of the major residential brands – LiftMaster, Chamberlain, Genie, Clopay, Amarr, Wayne Dalton, Craftsman, and Raynor – which covers most of what’s installed in South Hill homes. A few practical notes:
- LiftMaster and Chamberlain share engineering DNA. Their openers use similar safety-reverse systems, and a blinking opener light on either usually points first to the sensors. The force and travel settings are adjusted differently than on some other brands, and a misadjusted setting can mimic a sensor fault.
- Craftsman openers are the legacy Chamberlain ecosystem in a different wrapper, so the same sensor logic applies, and parts are widely available.
- Genie openers use a slightly different sensor and limit design. If you’re troubleshooting a Genie that won’t close, the sensor cleaning and the reverse-object test are still first, but the limit adjustment is a technician call.
- Clopay and Amarr are primarily door brands rather than opener brands, so the door-side checklist – springs, rollers, tracks, weatherstripping – is where brand-specific details show up. Door weight varies with panel type, and the springs are matched to it. That’s why the label on the spring matters when a technician is choosing a replacement.
- Wayne Dalton and Raynor round out the common set. If you’re not sure what you have, the opener has a data plate on the back or under the light cover, and the door brand is usually on a label on the inside of the bottom panel.
When you call for service, telling us the brand on the opener and the door saves a round trip and lets us come prepared. The same goes for the model number if you can find it. It’s not a requirement – just useful.
When a Checklist Isn’t Enough: Recognizing the Line
There’s a point where a checklist stops helping and a technician becomes the right call. Some of these are obvious. Others are subtle, and easy to put off.
- A loud bang from the garage, followed by a door that won’t open. That’s a broken spring. Stop using the opener and call – continuing to run the opener with a broken spring will strain the motor and turn a single repair into two.
- A door that reverses for no obvious reason. It could be the sensors, the force setting, or a binding track. If a sensor wipe-down and a clear path don’t fix it, it’s a technician call.
- A door that won’t stay up when you let go. Balance test fail. Book service.
- A frayed or kinked cable. Don’t touch it. Call.
- Any grinding, scraping, or popping sound that wasn’t there last month. Sounds are the door’s early warning system. They’re worth investigating before they become a breakdown.
- The door that fails on a Saturday. We’re closed Saturdays, but the phones are answered and we’ll book you in for the next opening, Sunday through Friday. When a door won’t open and your garage is your main entry, we treat it as the emergency it is.
If you’re not sure whether something is serious, describe it over the phone. The answer is free, and so is the estimate if it needs a visit.
Common Mistakes to Avoid
- Lubricating the torsion spring. It feels like the most important part to lubricate, and it’s the one part you should leave alone. Grease on a torsion spring changes how the set screws grip and can contribute to the spring unwinding unexpectedly. Leave it to a technician.
- Using WD-40 as a lubricant. It’s a water displacer and a solvent, not a long-term lubricant. On a garage door in South Hill’s wet climate, it dries out the parts it’s sprayed on and leaves them exposed to the damp.
- Adjusting the opener’s force setting to fix a heavy door. Turning the force setting up is the common shortcut, and it masks the real problem: the door is out of balance, or the tracks are binding. A door running on a maxed-out force setting will eventually fail – and when it does, it’s more likely to be a motor or a control board.
- Greasing the tracks. The tracks should be clean and dry. Grease in the tracks attracts grit and dust, and the rollers ride on that grit. A dry rag is the right tool for tracks, not a lubricant.
- Pulling the manual release while the door is open. If you pull the red handle while the door is up, it can come crashing down or the trolley can slip. Always do the manual release drill with the door fully closed.
- Skipping the weatherstripping check in the fall. A worn bottom seal is one of the cheapest parts to replace and one of the most common causes of a cold, damp garage through the wet months. It’s easy to forget because it’s at floor level and doesn’t announce itself.
- Not logging service. The record is the thing a technician, a warranty department, or a buyer will want to see. It takes a minute to write down the date and the work done, and it’s the difference between a documented history and a guess.
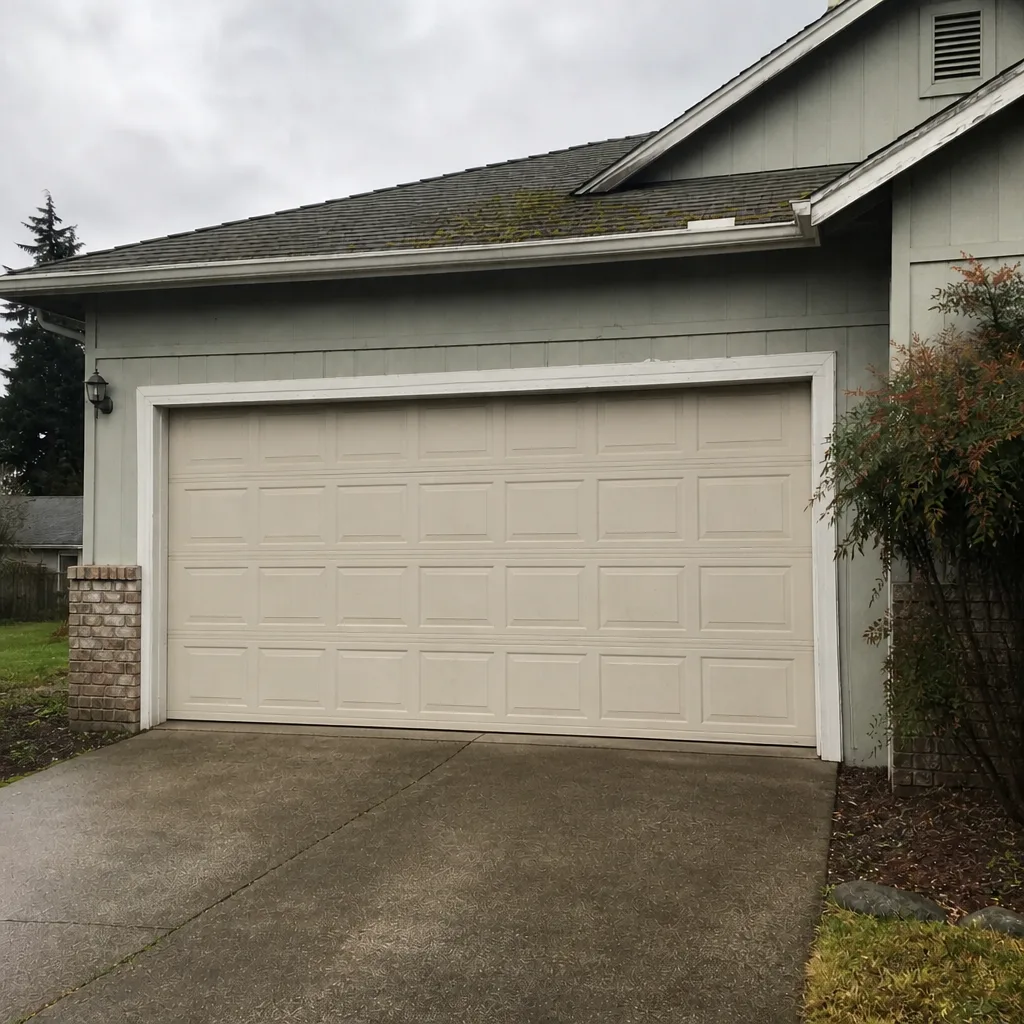
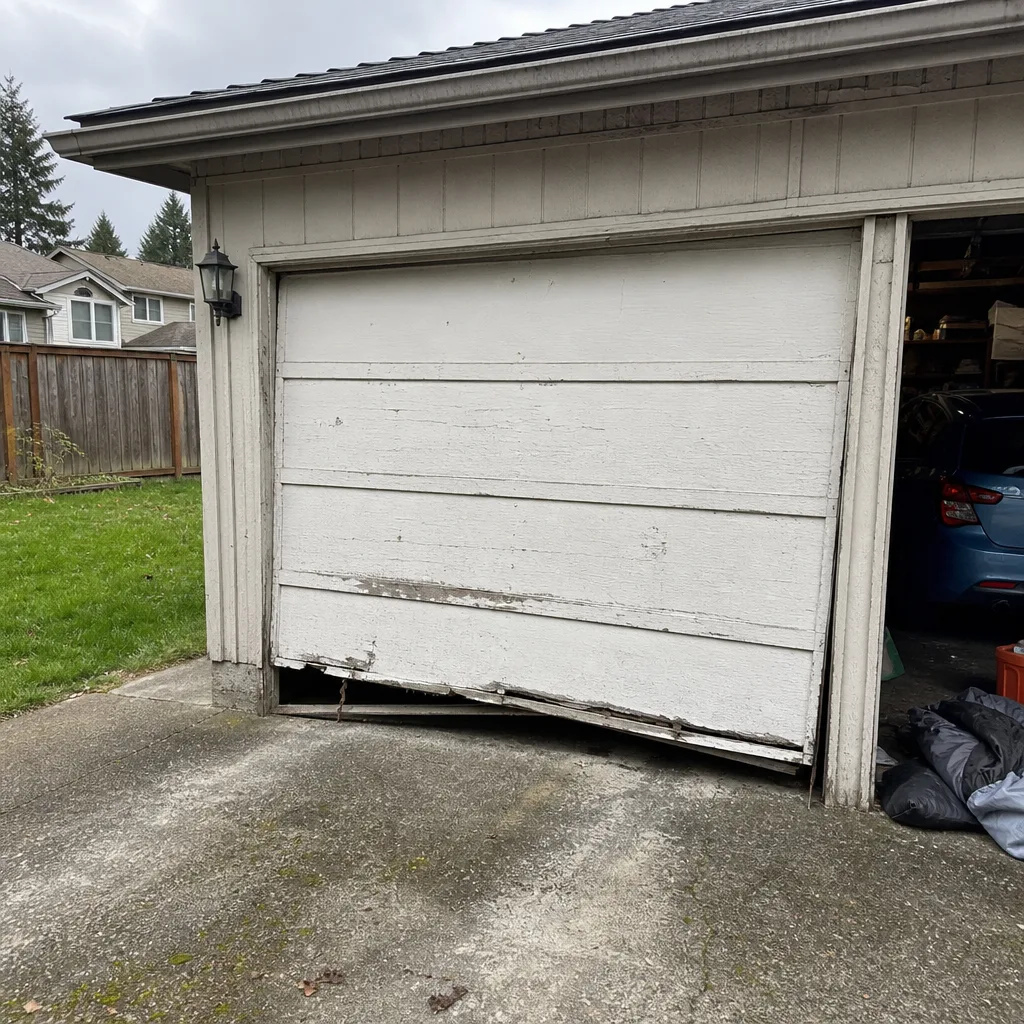
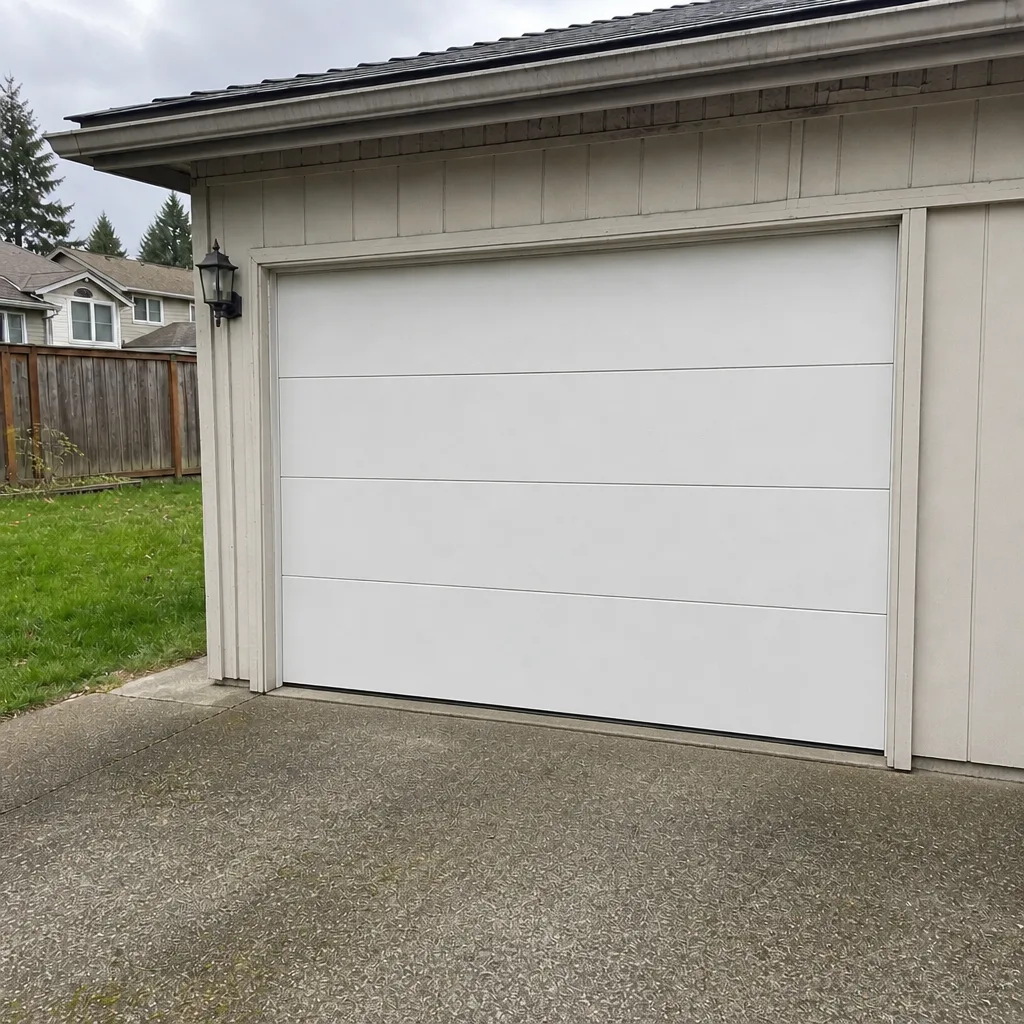
See the difference
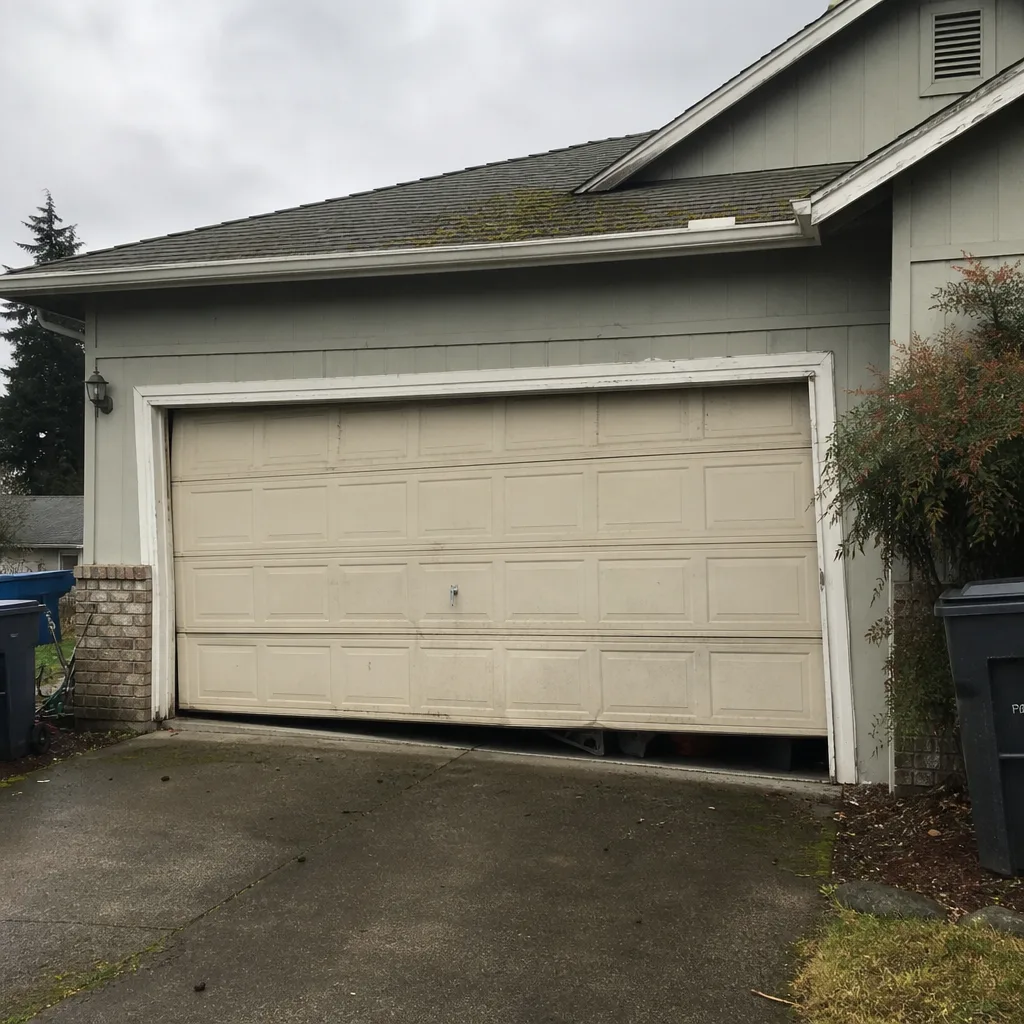 Before
 After
 Before
 After
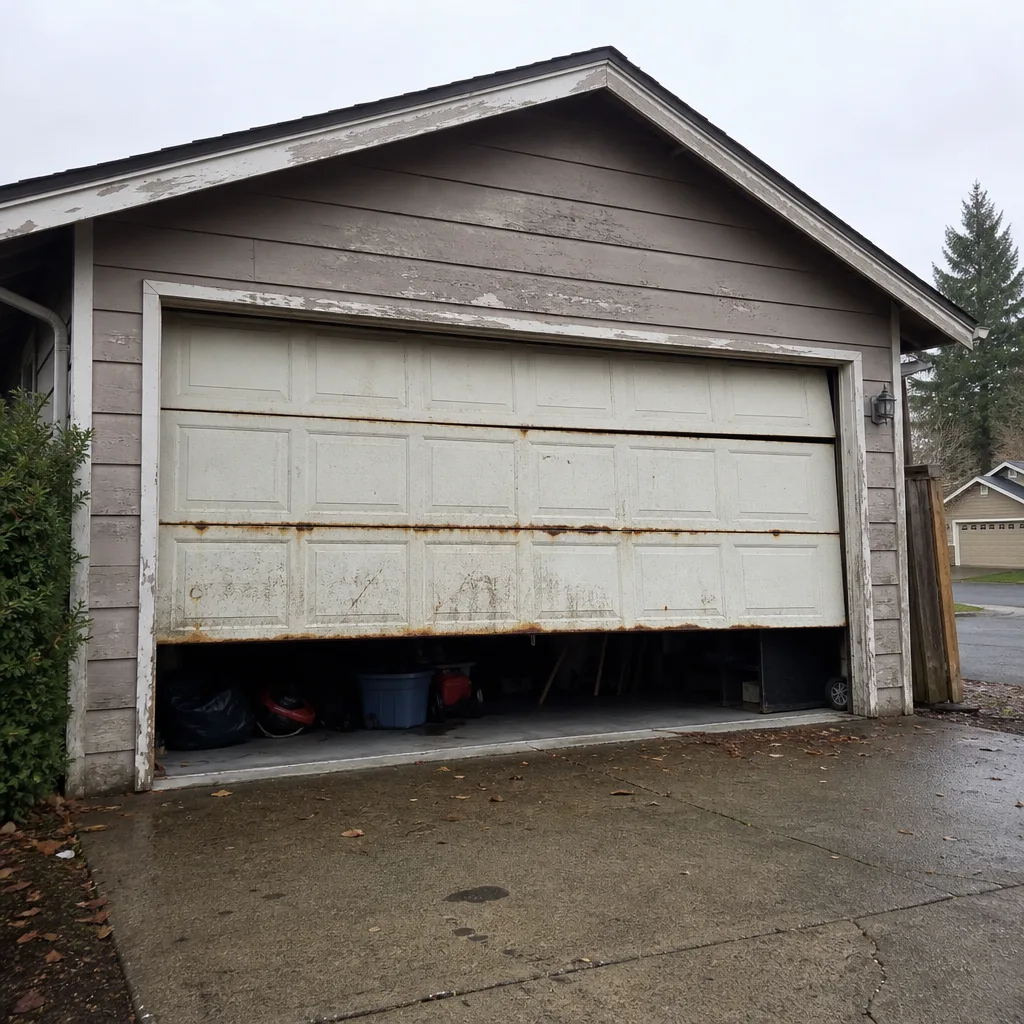 Before
 After
When to Call a Professional
Call a professional when the task involves a spring, a cable, or an electrical component. Also call when a balance test fails, when you hear a new sound, when the door reverses unexpectedly and the sensors are clean, or when a door that used to work smoothly starts to feel heavy or sticky. And call when a door won’t open at all and your garage is your entry point – that’s an access and security problem, not a convenience. Our technicians have up to 11 years of experience, and they diagnose by brand, not by assumption. We work on LiftMaster, Chamberlain, Genie, Clopay, Amarr, Wayne Dalton, Craftsman, and Raynor systems, which means we show up knowing how your specific door and opener behave.
Garage Door Repair South Hill offers free estimates in South Hill – call (844) 443-4774. We answer 24/7. Fast dispatch from 7am to 7pm, Sunday through Friday. The price is quoted and agreed before any work starts, and the written estimate sets the final price.
Frequently Asked Questions
Once a year for a professional service and a thorough inspection, plus the owner-safe checklist you can run yourself in about 30 minutes once a year. In South Hill’s wet climate, we’d add a quick visual check of the weatherstripping in the fall and the rollers in late January, because cold snaps and wet months are when those parts fail first. If your door gets heavy use – multiple times a day as your main entry – a professional inspection every year is worth it.
The dividing line is whether the task involves a component under high tension or a live electrical connection. Lubrication, sensor cleaning, and visual inspections are owner-safe. The balance test and the manual release drill are safe with care. Spring adjustment, cable work, limit switch tuning, and opener electrical repair are technician-only. A spring under tension stores an enormous amount of energy, and no checklist should put it in the same category as wiping down a sensor.
Yes, and you should, once a year. Close the door, pull the manual release, lift the door about halfway, and let go. If it stays put, your springs are balanced. If it drops, rises, or feels very heavy, the springs need attention and you should call a technician. Don’t keep using the door if it fails.
A lithium-based or silicone-based garage door lubricant. Skip the general-purpose oil and avoid anything that stays wet, because in a damp climate a wet oil collects grit that wears the hinges and rollers. Use a silicone spray on the sensor lenses and the weather seal, and keep the tracks clean and dry. Don’t lubricate the torsion spring; leave that to a technician.
South Hill’s fall and winter rain and its cold snaps stress different parts of the door system. Weatherstripping goes hard and cracks, wet conditions accelerate wear on anything that needs lubricant, and cold snaps make older nylon rollers brittle enough to crack. Running the checks at the right time of year keeps small problems from turning into repairs. Rust on hinges and roller stems is the other thing to watch after the spring rain season.
Call (844) 443-4774. We answer 24/7. Fast dispatch from 7am to 7pm, Sunday through Friday. If your door won’t open and your garage is your main entry, we treat it as the emergency it is. A call outside dispatch hours is booked into the next opening. Estimates are free, and the price is quoted and agreed before any work starts.
The Bottom Line
A maintenance checklist should tell you which tasks are safe and which ones aren’t, because a garage door system puts a spring under tension right next to a hinge that needs a coat of lubricant. Sort the work into three tiers. Run the owner-safe tasks once a year in about 30 minutes, learn the balance test and the manual release drill so you can spot a problem early, and leave the springs, cables, and opener settings to a technician. Watch the seasons here – weatherstripping in fall, rollers in late January, rust after the spring rains – and log what you do so you have a record when you need one. For the parts that need a pro, we’re a call away.
Related Guides for South Hill Homeowners
Contact Us
Call (844) 443-4774 for a free estimate. We answer 24/7. Fast dispatch from 7am to 7pm, Sunday through Friday. The price is quoted and agreed before any work starts, and the written estimate sets the final price. Whether you need repair, opener work, spring repair, or a full new installation, one call covers it.
Written by the team at Garage Door Repair South Hill.